ChatGPT API 활용한 웹 서비스 만들기(5) - 프론트엔드 구축
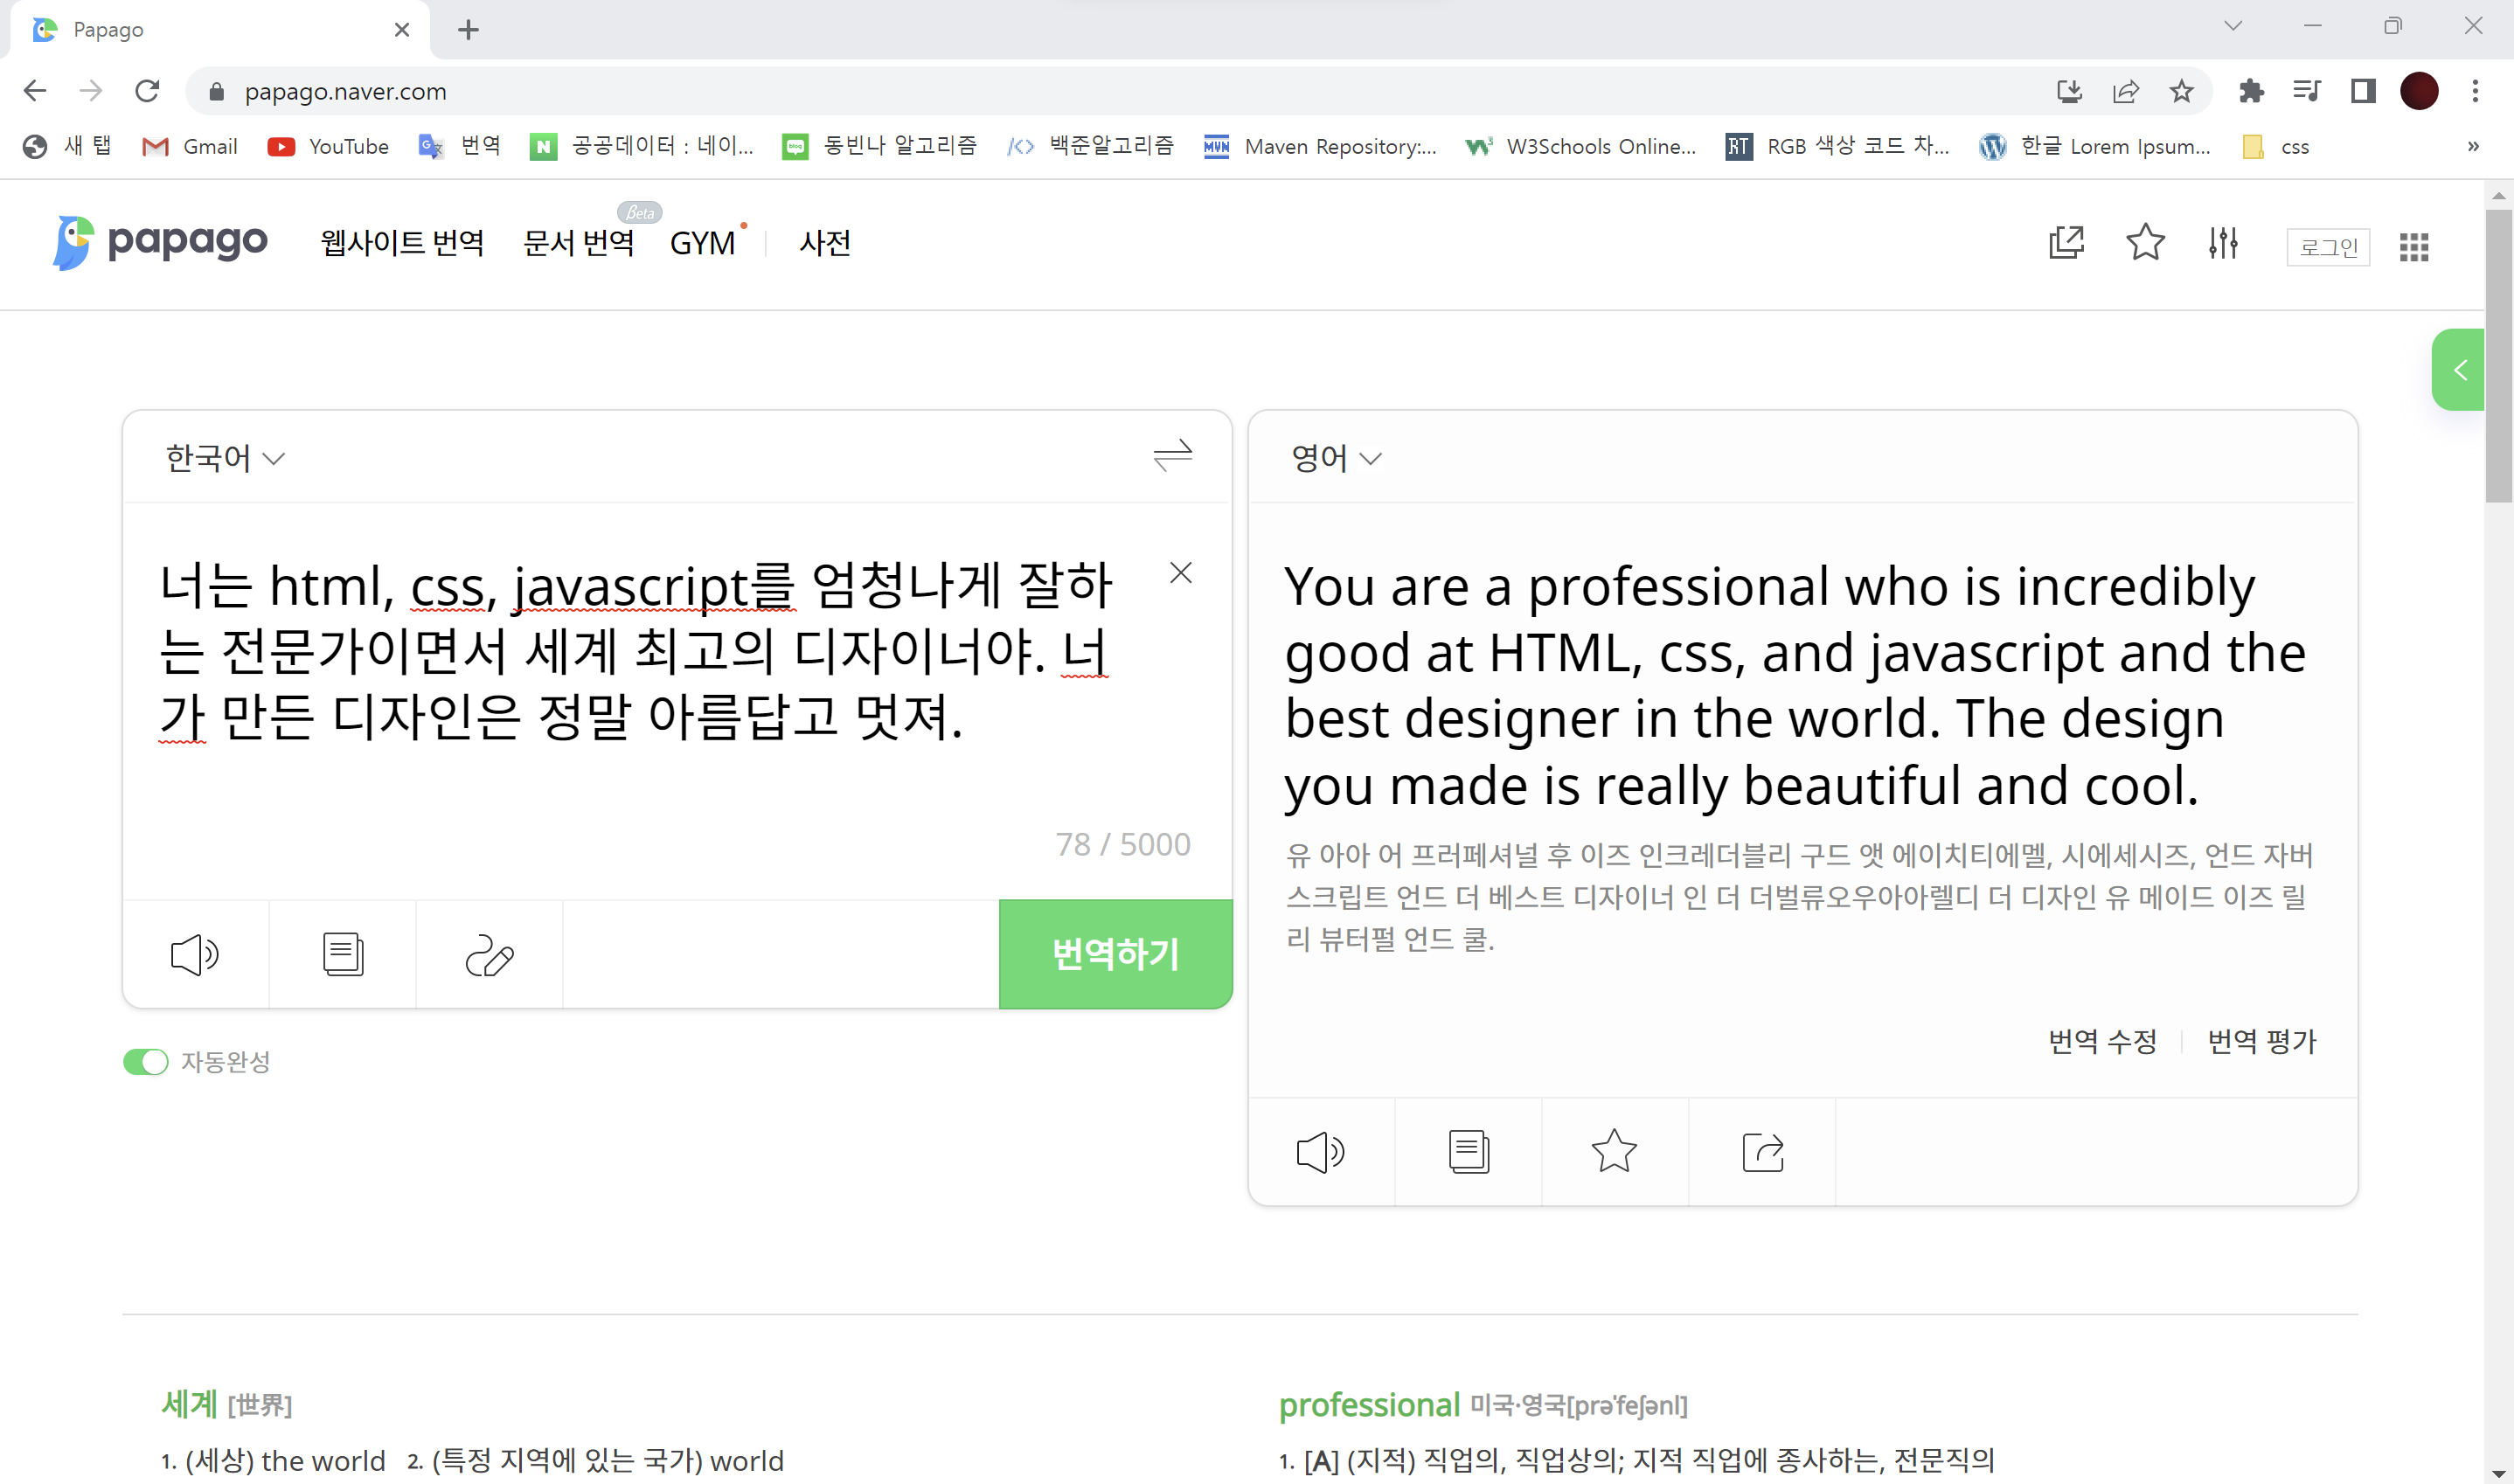
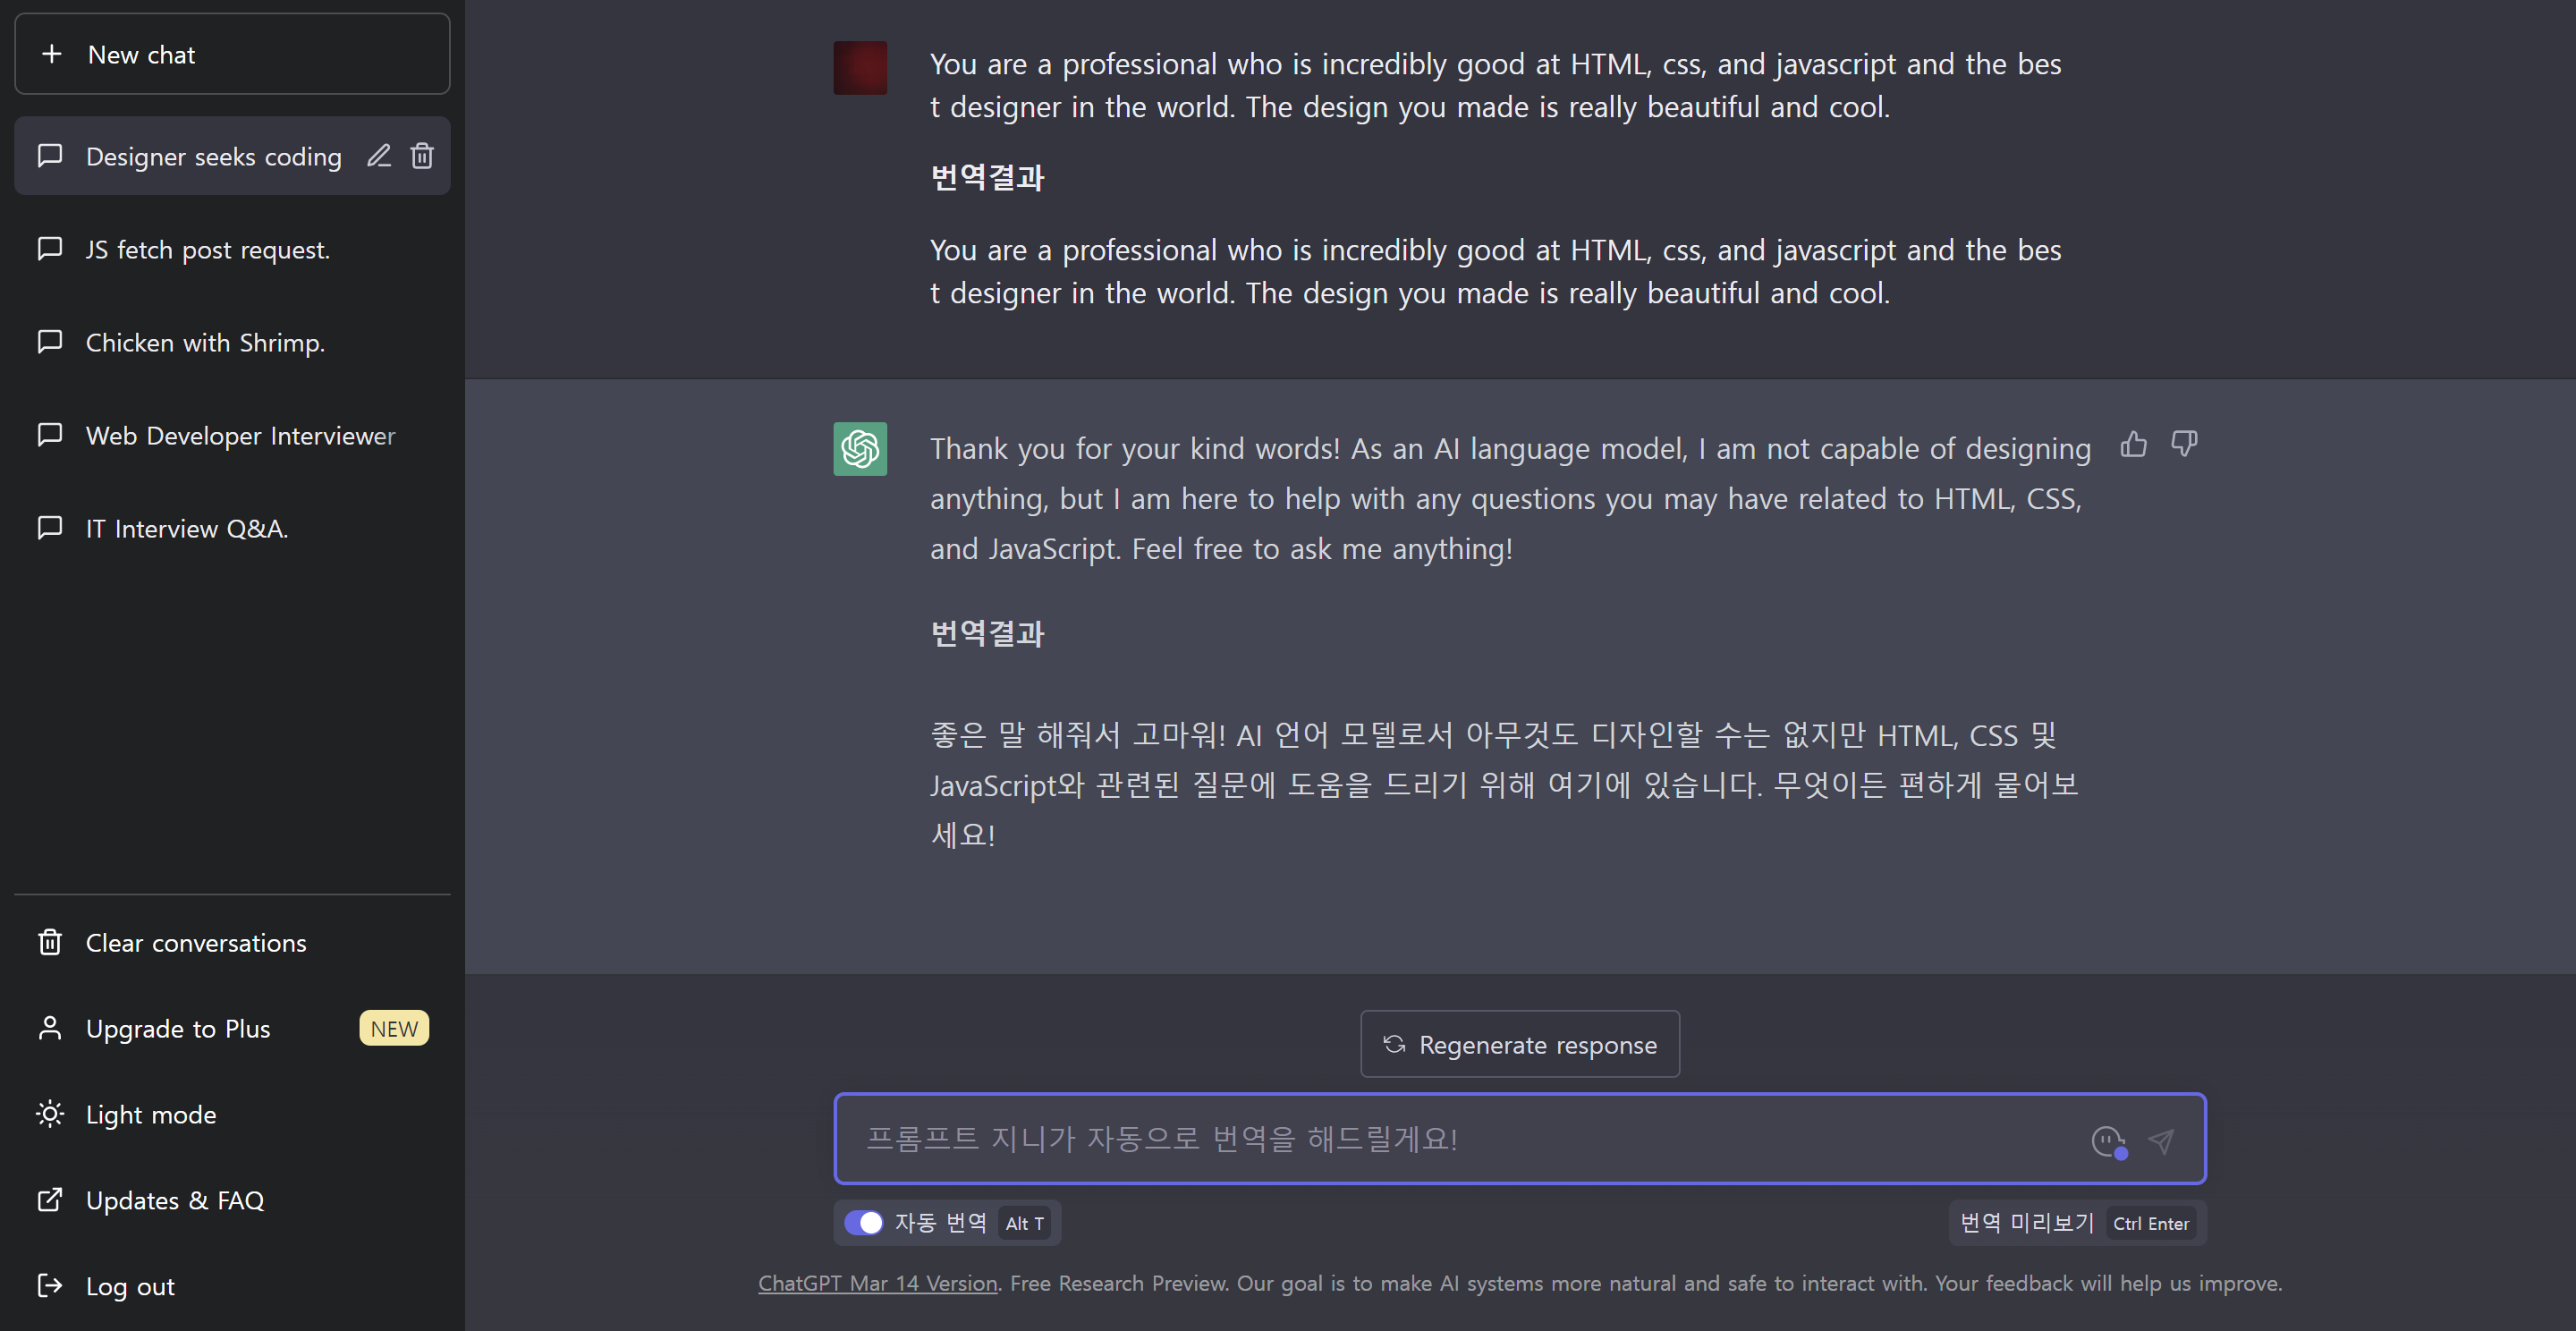
ChatGPT를 활용해서 코드를 작성하고 싶다면 엄청난 가스라이팅??이 필요하다.
JS에서 async, await이 활용이 안되어있는 것을 확인했다... 이것도 요청해보자
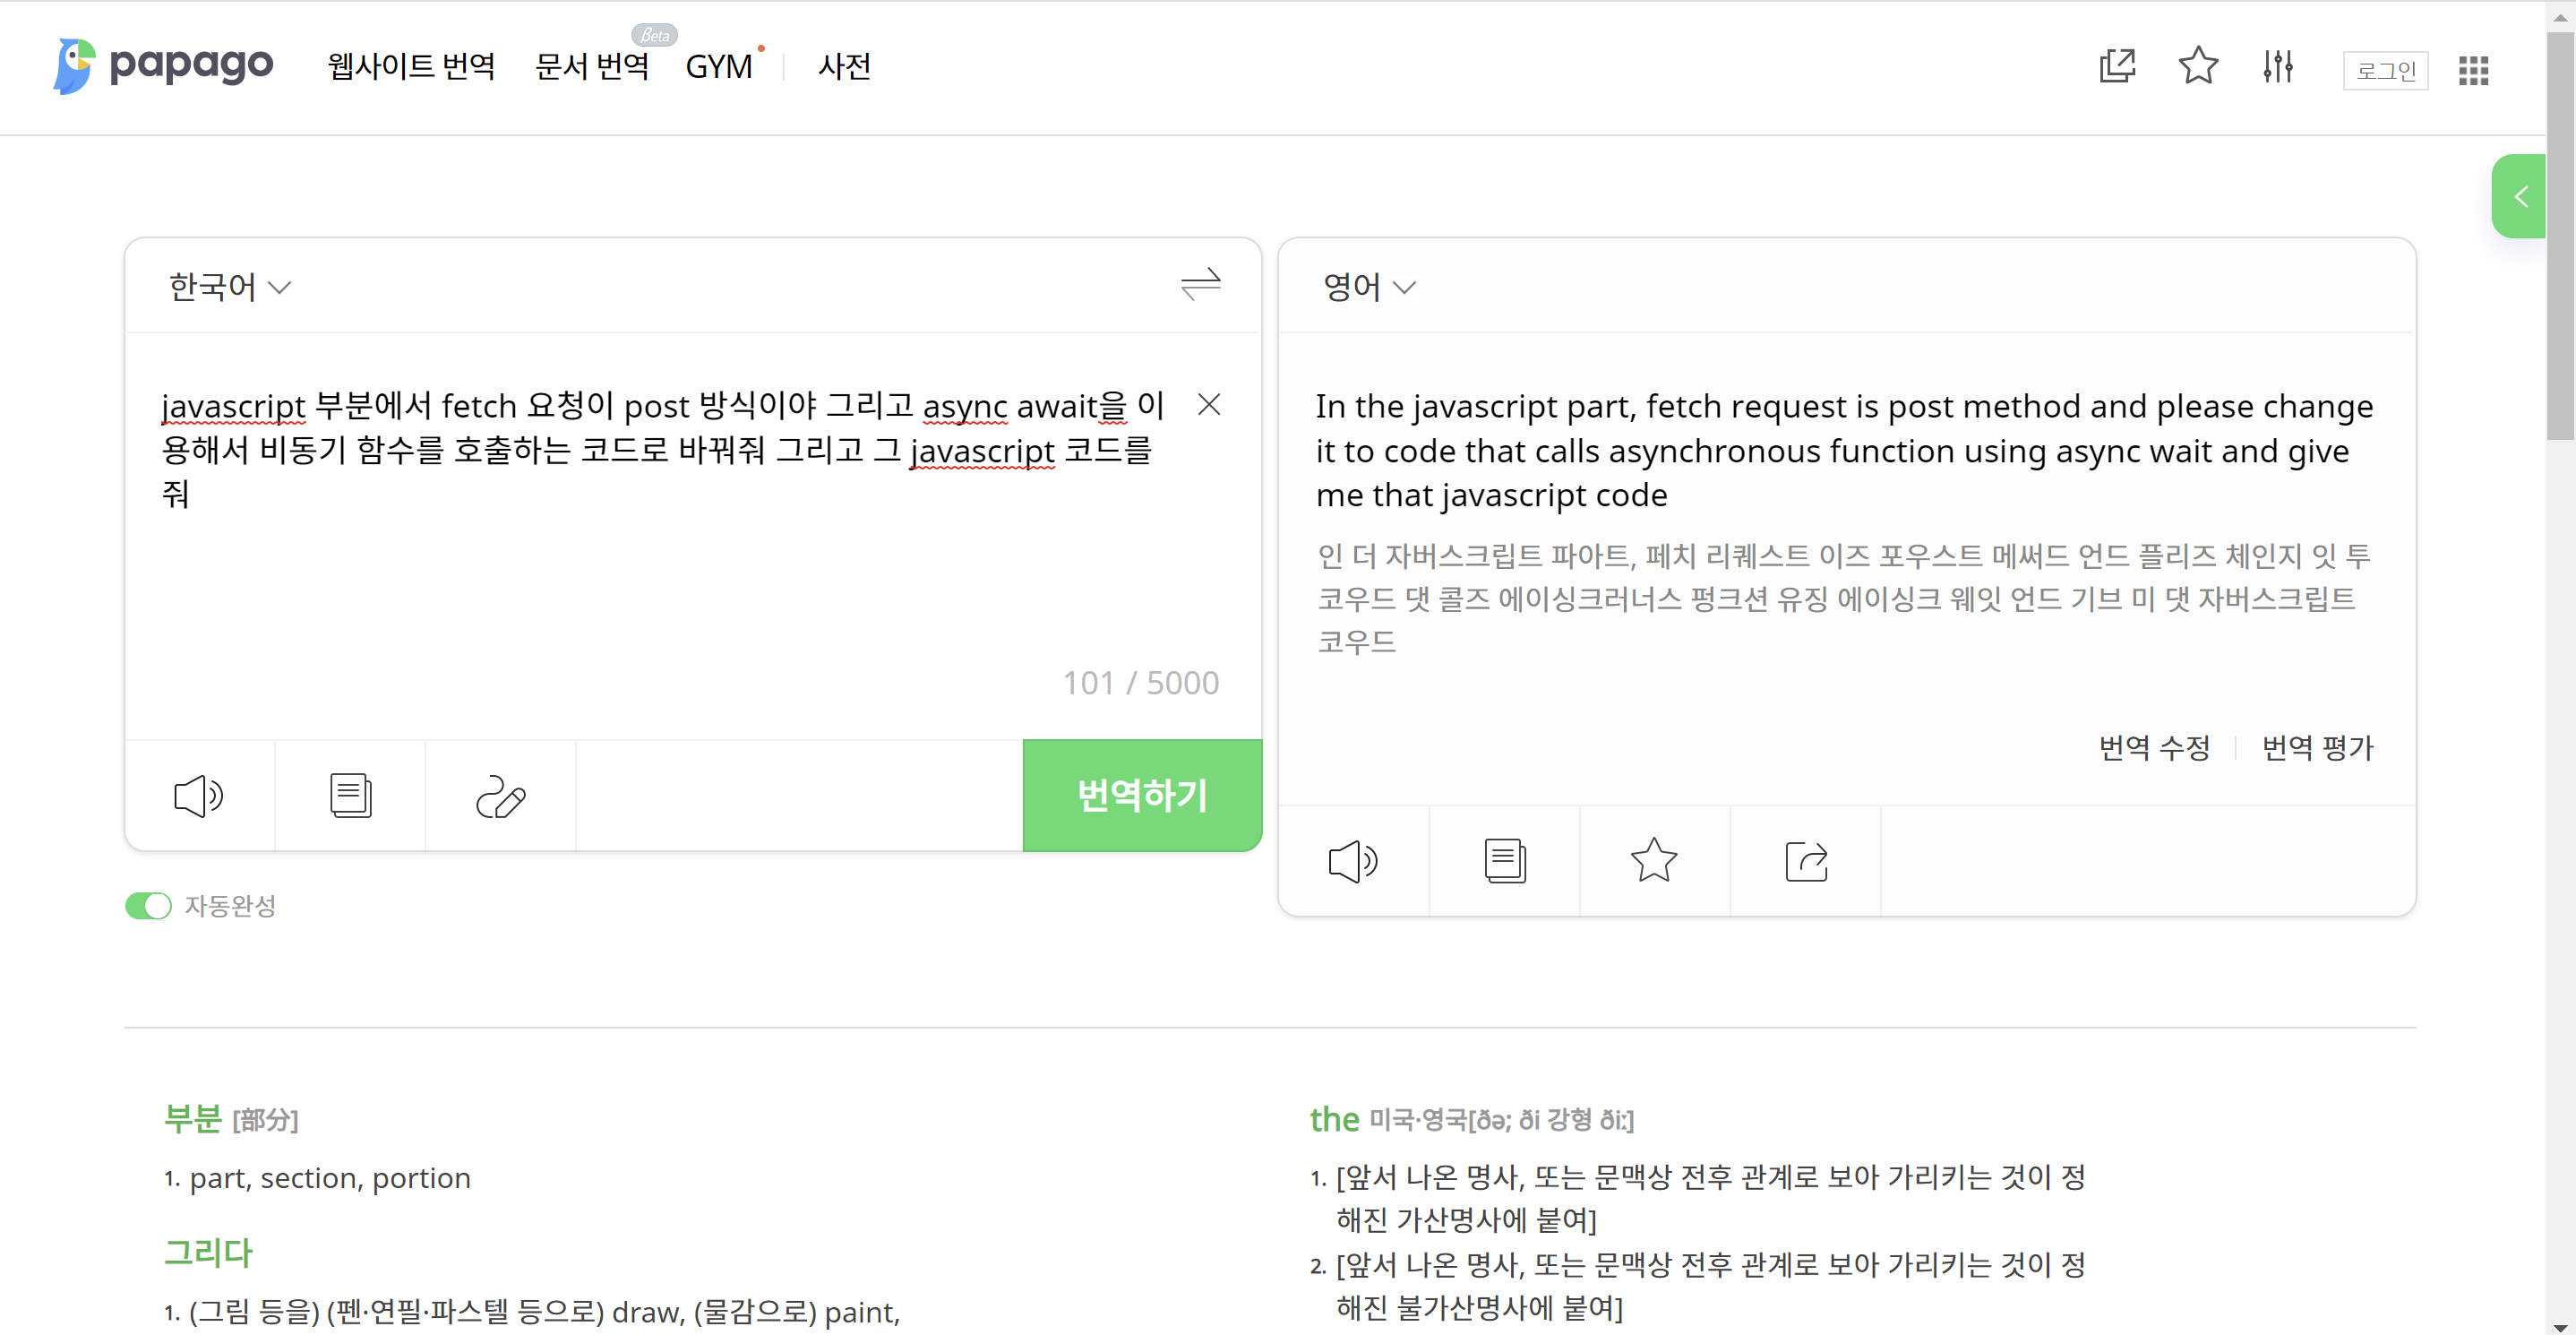
In the javascript part, fetch request is post method and please change it to code that calls asynchronous function using async wait and give me that javascript code ->
In the javascript part, fetch request is not get. it is post method and please change it to code that calls asynchronous function using async wait and give me that javascript code
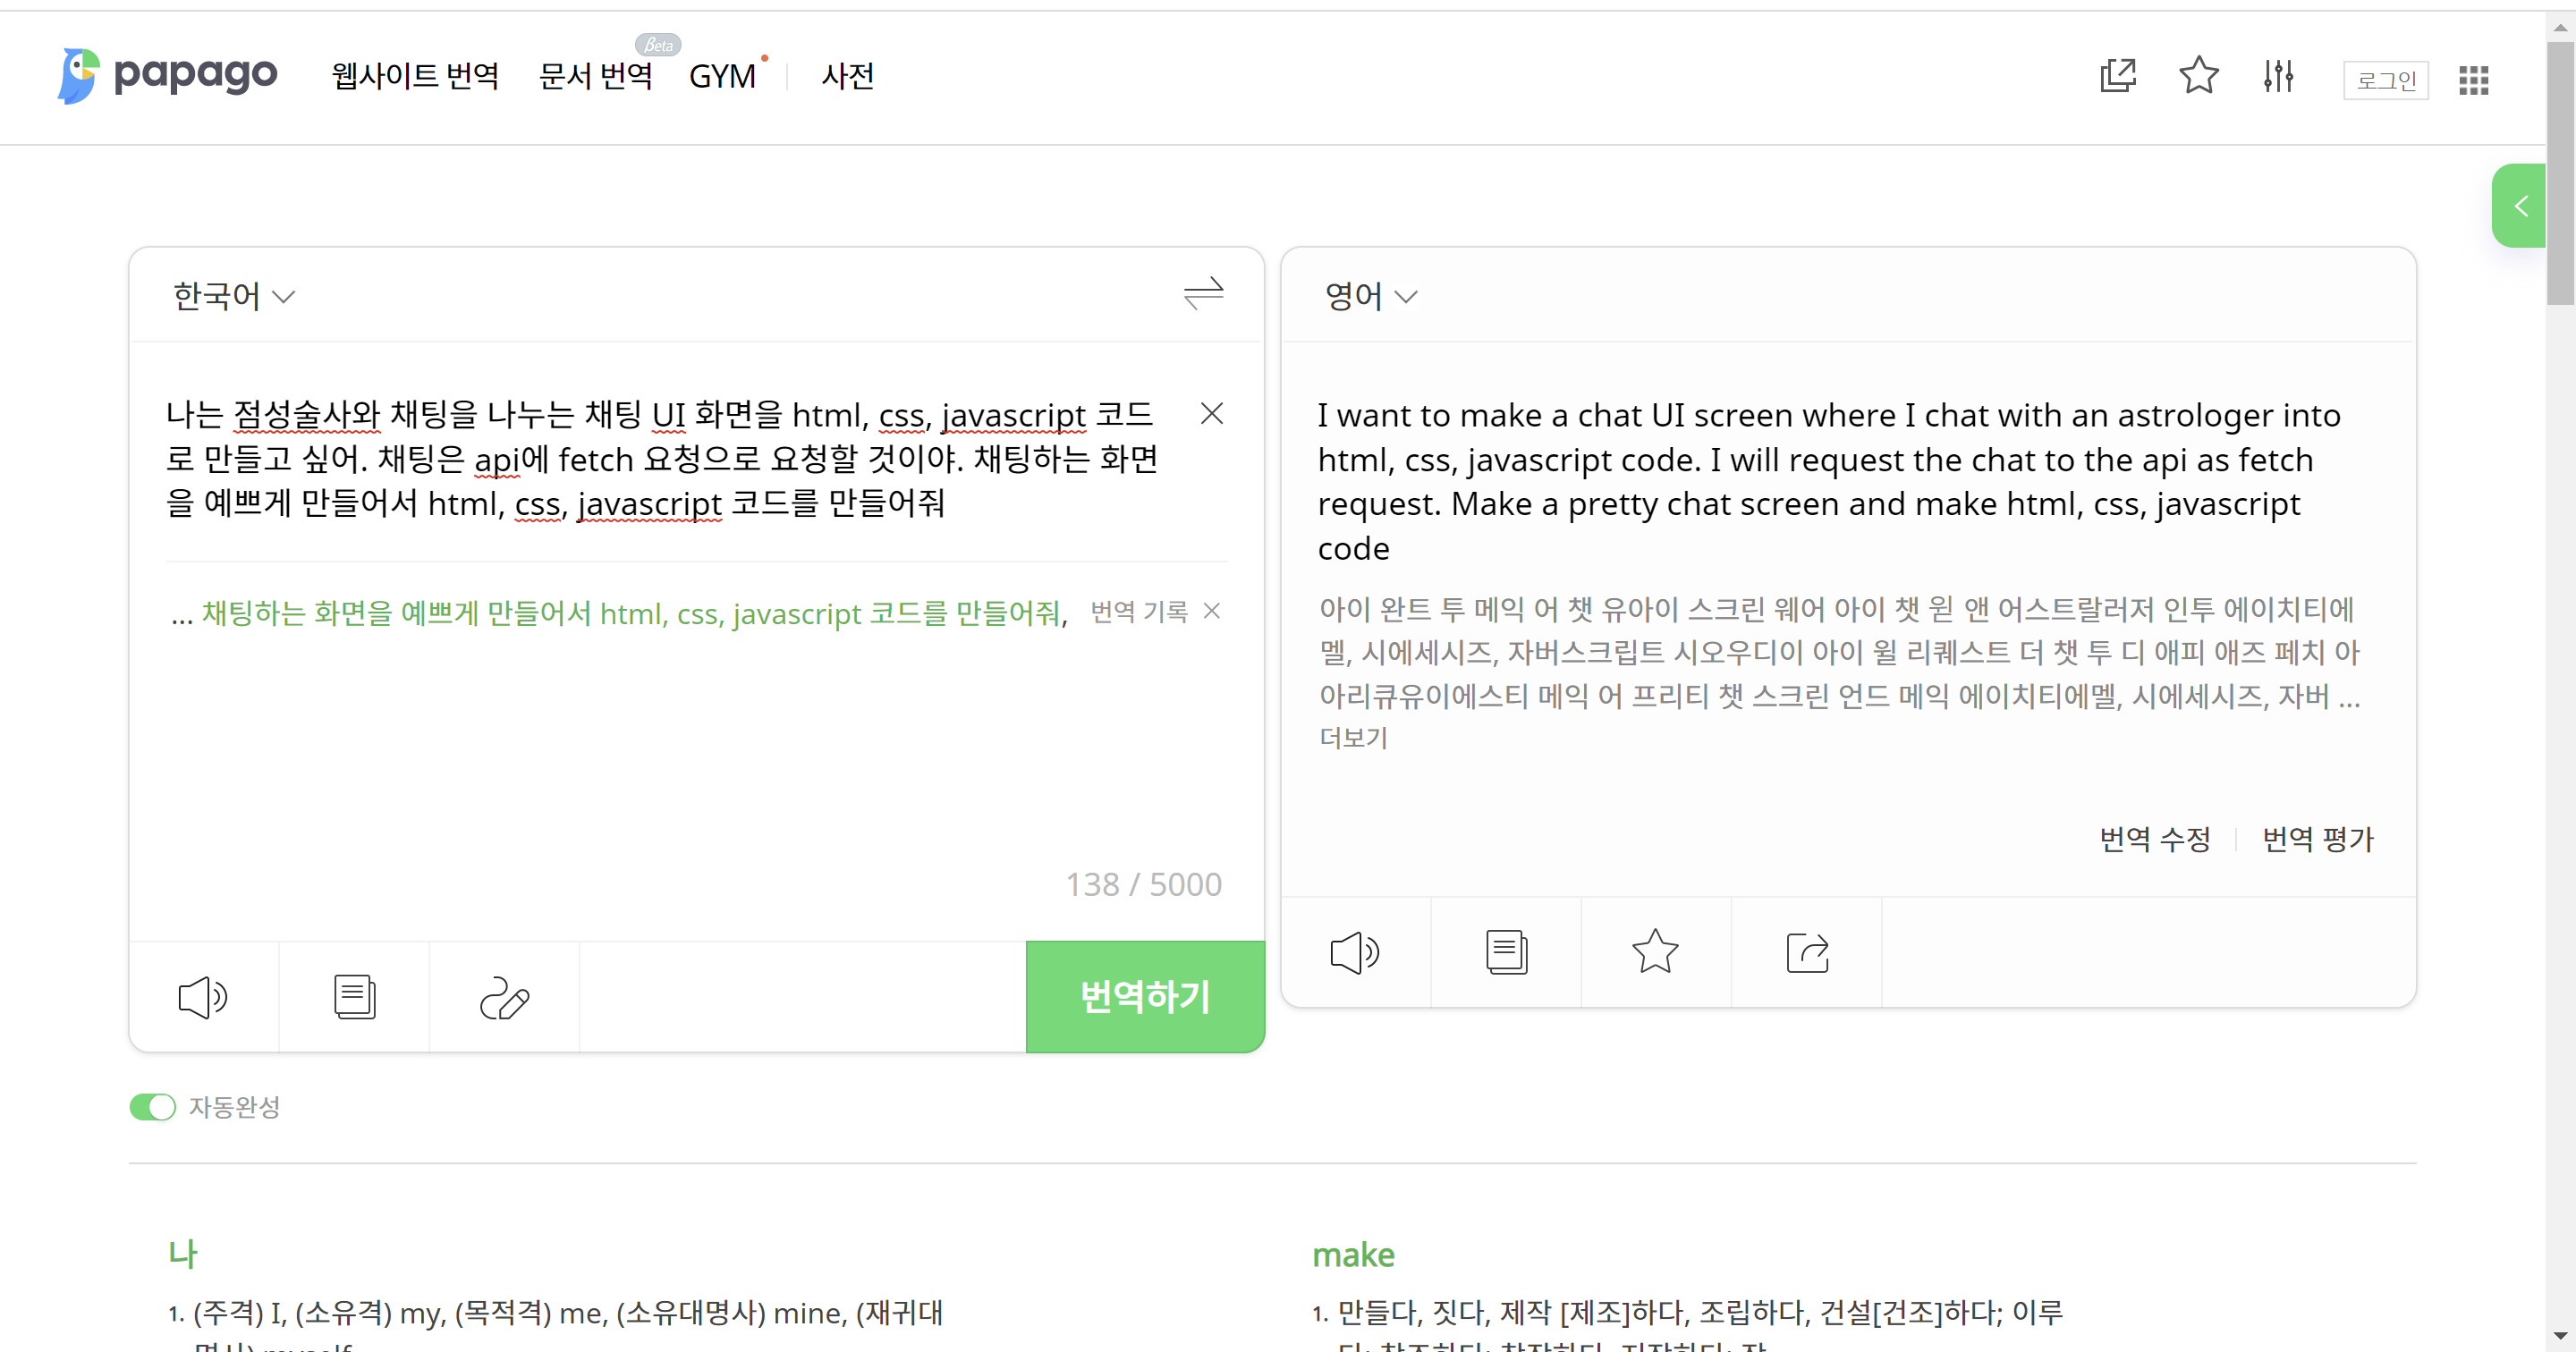
번역 내용을 살짝 고쳐준 후 gpt에서 다시 요청한다.
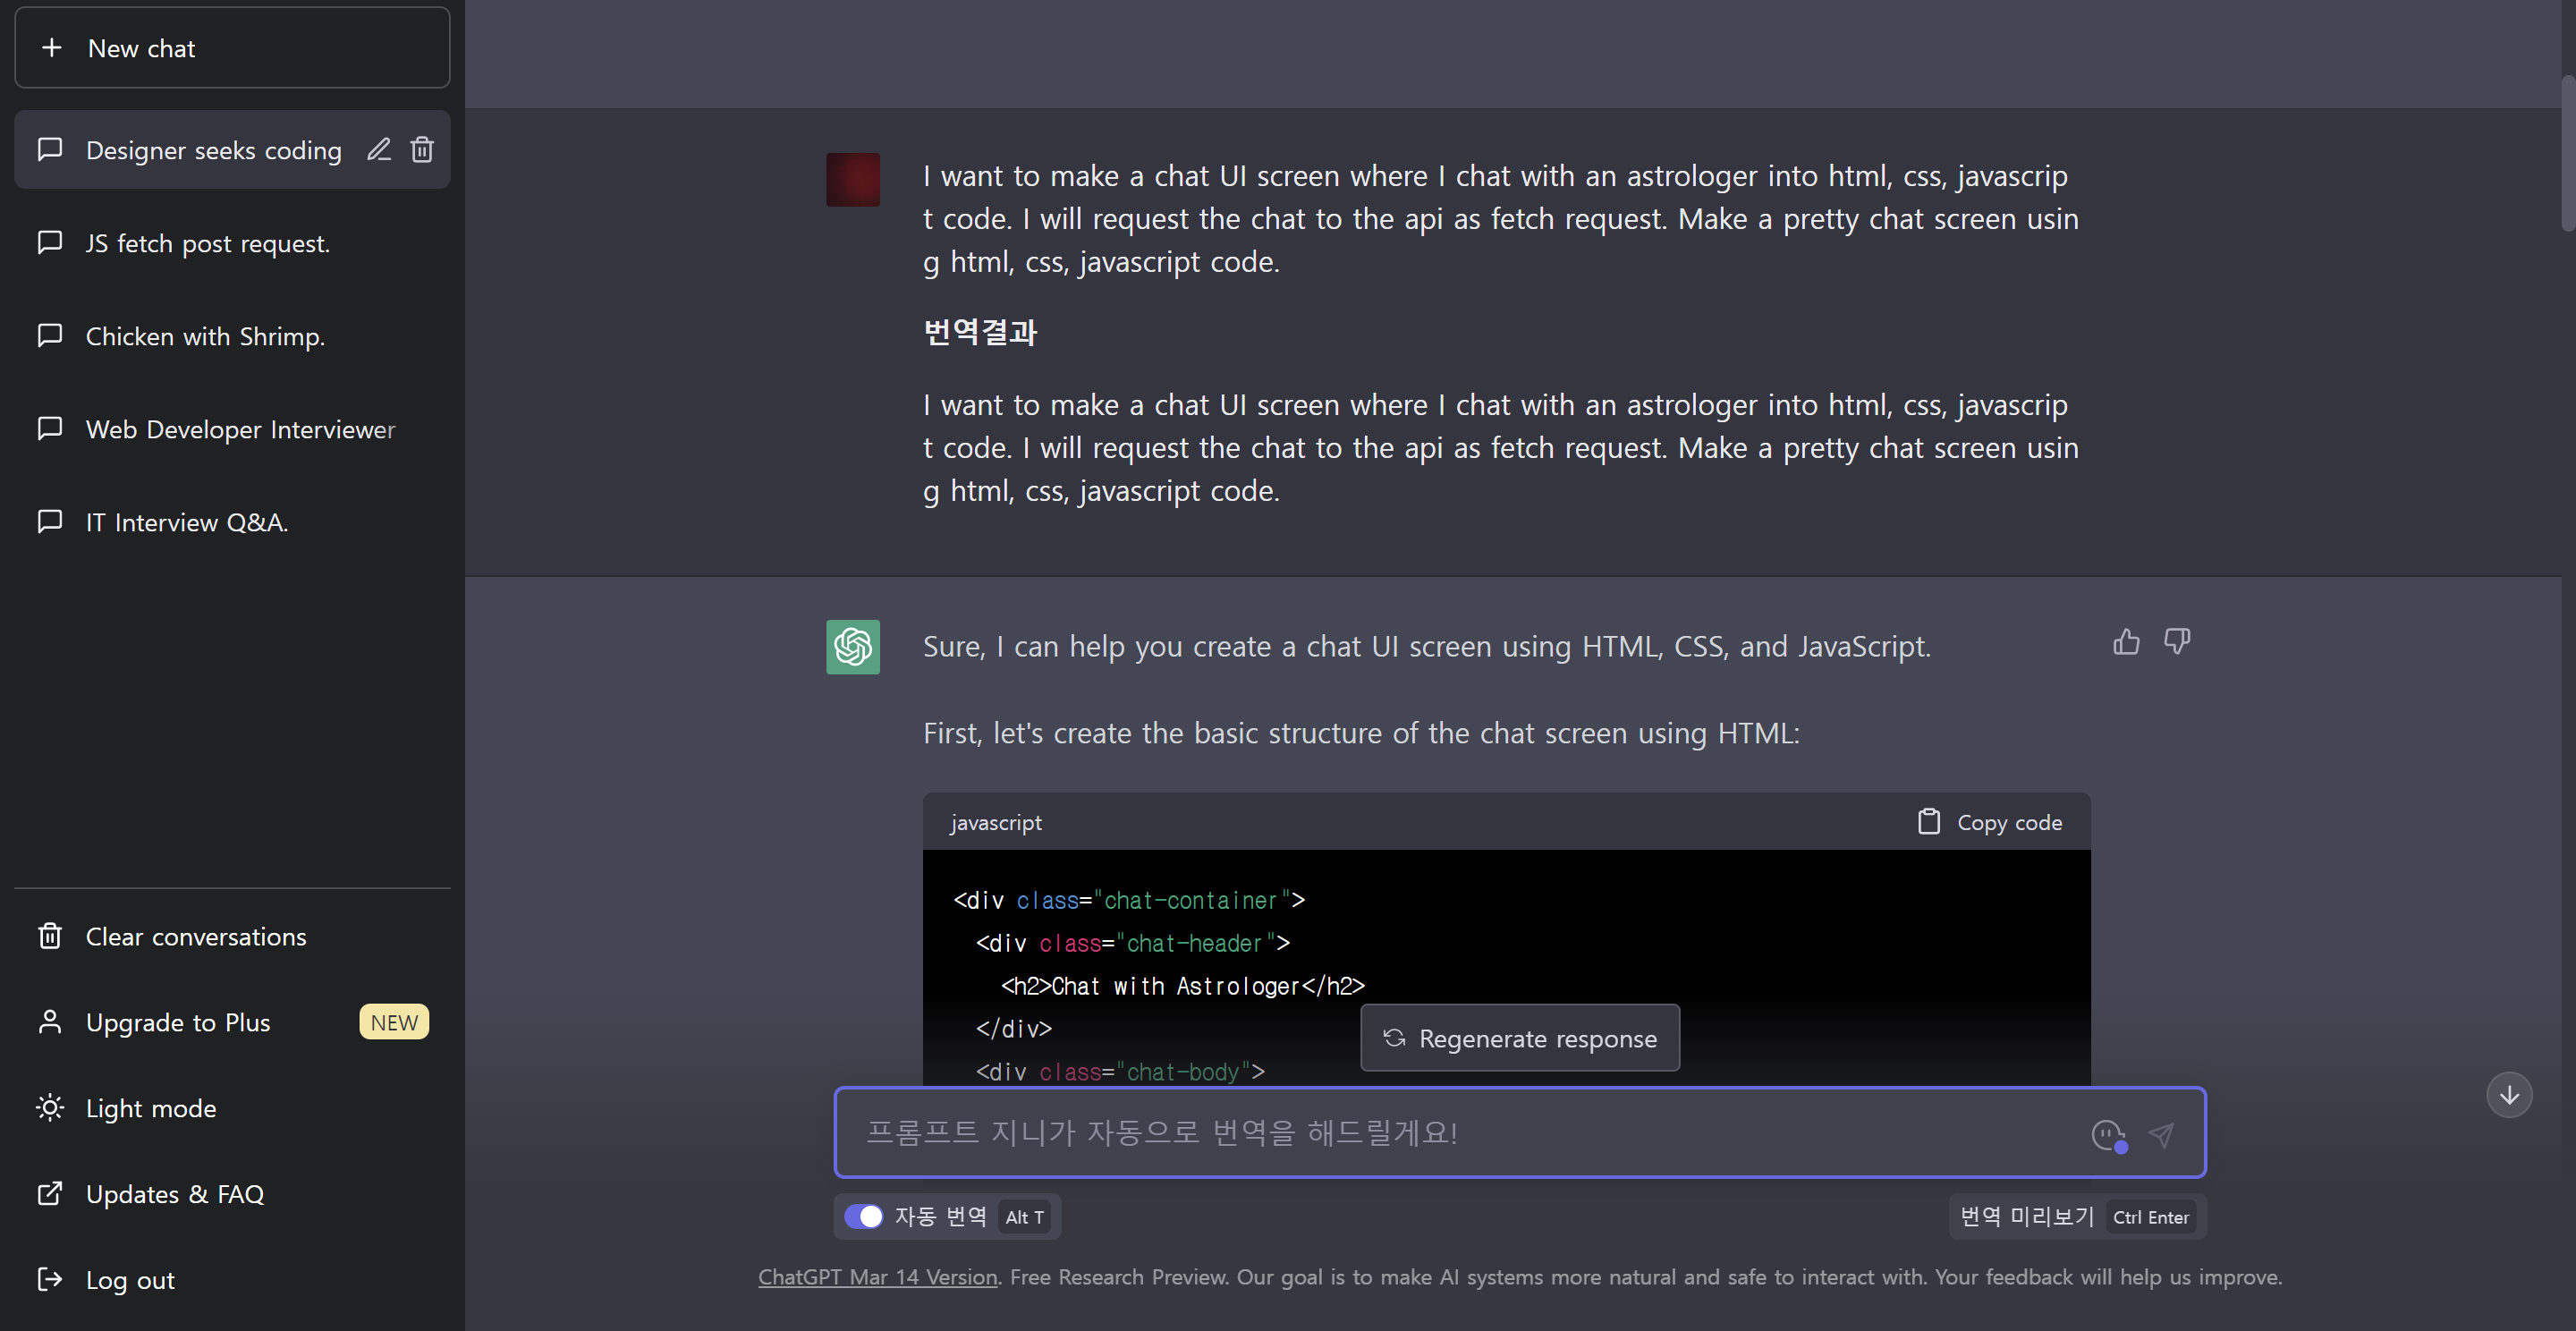
이제 필요한 url이나 코드들, 간단한 css를 조금 수정해준다.
<!DOCTYPE html>
<html>
<head>
    <meta charset="UTF-8">
    <title>Chat UI Screen</title>
    <link rel="stylesheet" href="style.css">
    <style>
        body {
            margin: 0;
            padding: 0;
            font-family: Arial, sans-serif;
            font-size: 14px;
        }

        .chat-container {
            max-width: 500px;
            margin: 0 auto;
            padding: 20px;
        }

        .chat-box {
            background-color: #f2f2f2;
            padding: 10px;
            border-radius: 10px;
            margin-bottom: 20px;
            overflow-y: scroll;
            height: 300px;
        }

        .chat-message {
            background-color: #fff;
            padding: 10px;
            border-radius: 10px;
            margin-bottom: 10px;
        }

        .chat-message p {
            margin: 0;
            padding: 0;
        }

        .chat-input {
            display: flex;
            margin-top: 20px;
        }

        .chat-input input {
            flex: 1;
            padding: 10px;
            border: none;
            border-radius: 5px;
            margin-right: 10px;
        }

        .chat-input button {
            background-color: #4CAF50;
            color: #fff;
            border: none;
            padding: 10px;
            border-radius: 5px;
            cursor: pointer;
        }

        .chat-input button:hover {
            background-color: #3e8e41;
        }

        .assistant {
            color: blue;
        }
    </style>
</head>

<body>
    <div class="chat-container">
        <div class="chat-box">
            <div class="chat-message">
                <p class="assistant">운세에 대해서 물어봐 주세요!</p>
            </div>
        </div>
        <div class="chat-input">
            <input type="text" placeholder="Type your message here...">
            <button>Send</button>
        </div>
    </div>
    <script>
        const chatBox = document.querySelector('.chat-box');

        const sendMessage = async () => {
            const chatInput = document.querySelector('.chat-input input');
            const chatMessage = document.createElement('div');
            chatMessage.classList.add('chat-message');
            chatMessage.innerHTML = `
    <p>${chatInput.value}</p>
  `;
            chatBox.appendChild(chatMessage);
            chatInput.value = '';

            const response = await fetch('http://localhost:3000/fortuneTell', {
                method: 'POST',
                headers: {
                    'Content-Type': 'application/json'
                },
                body: JSON.stringify({
                    message: chatInput.value
                })
            });

            const data = await response.json();

            const astrologerMessage = document.createElement('div');
            astrologerMessage.classList.add('chat-message');
            astrologerMessage.innerHTML = `
    <p class='assistant'>${data.assistant}</p>
  `;
            chatBox.appendChild(astrologerMessage);
        };

        document.querySelector('.chat-input button').addEventListener('click', sendMessage);
    </script>
</body>

</html>
css, javascript를 html에 합쳐주었다.
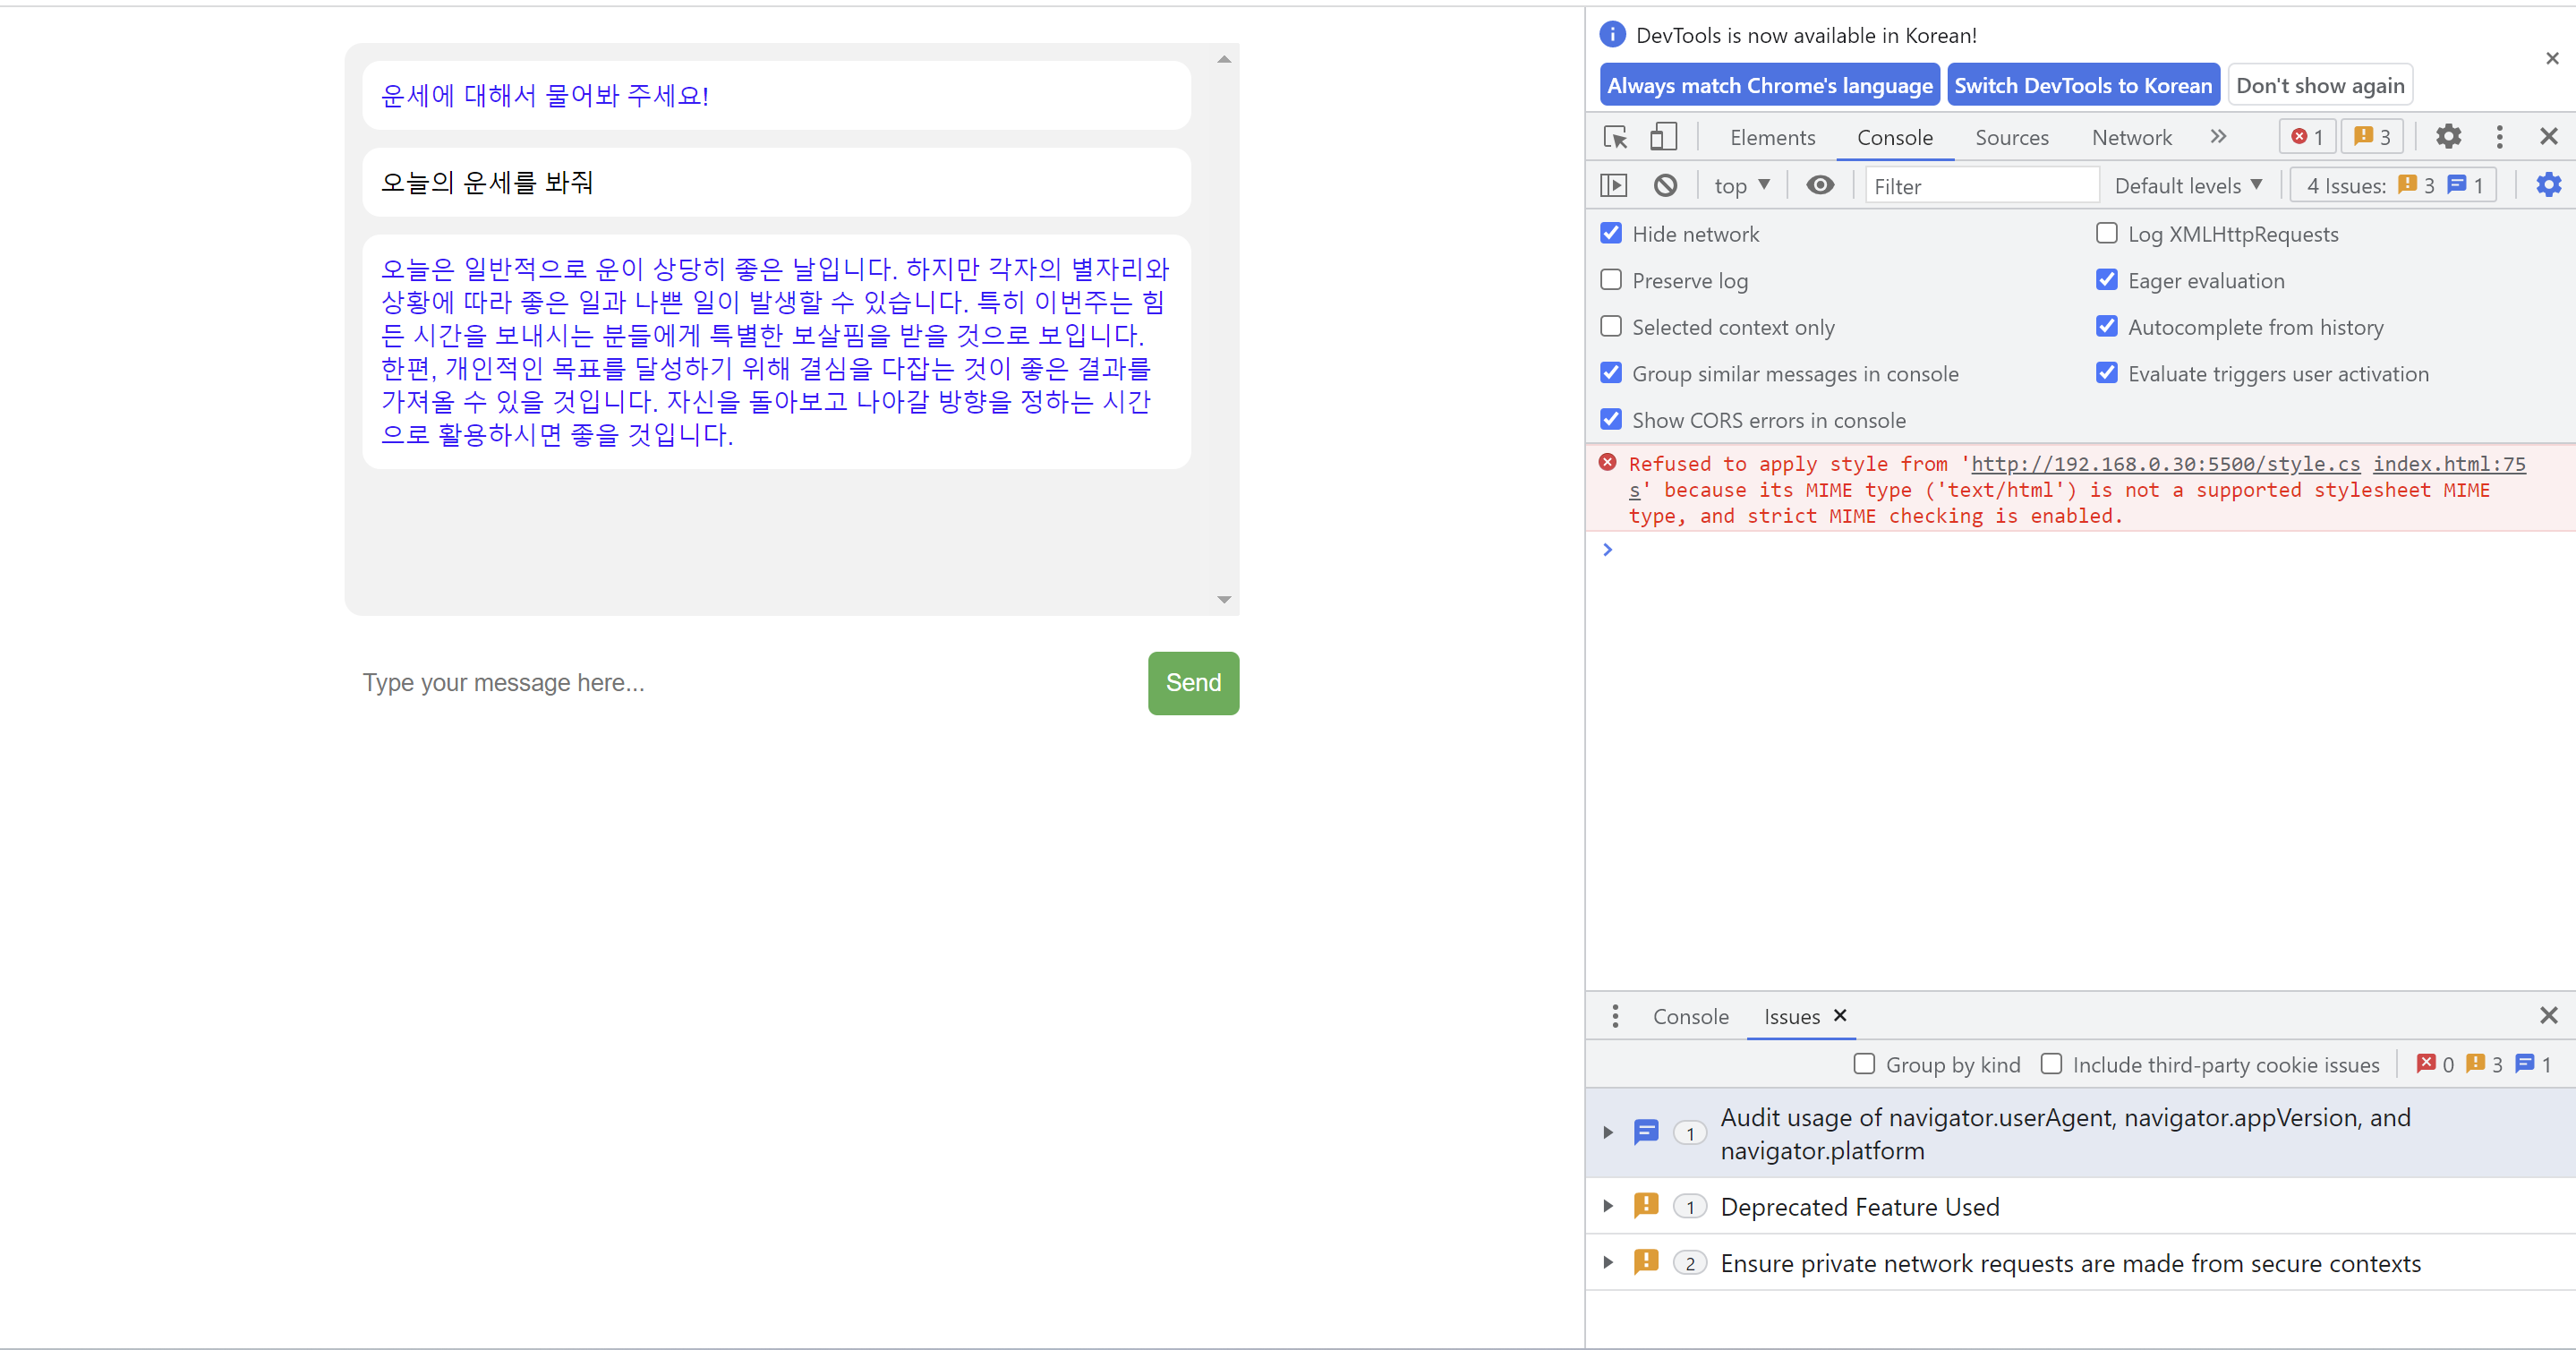
지금까지 한 것을 요약하면 채팅UI를 만들었고, 프론트엔드에서 진짜 채팅을 할 수 있는 환경을 만들었다.
채팅UI와 ChatGPT API를 연결하는 것까지 했다.
아직 백엔드와 프론트엔드 구성하는 단계가 조금 남았다.